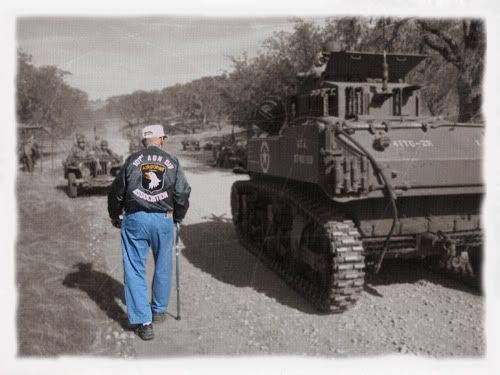
Post by davep on Aug 22, 2010 18:29:19 GMT -5
I was working with Eric, helping him get their unit's photos up on the CHG website. I asked for his "secret sauce" for getting those great period pictures you see on the 10SS website. Also Andrew(panda) I believe uses the same technique.
The problem I notice with modern digital cameras is not only are the lenses far superior to what they had back in the 40's, but the light collection of the sensors allows for an incredibly deep depth of field under almost any lighting conditions, which was pretty hard to do in the 40's. I find that photos taken from crappy cell phone cameras are easier to make period from the start, but you can do it with any photo really. - Eric
For starts, Eric has a pretty extensive collection of WW2 Photographs, as his grandfather fought in France. The first step to his process is, he scans the back side of these photos, to create a portfolio of "photo templates". The second step is to duplicate the photo development process used during that time. This is a process in which only the "black shades" appear. This is because the white shade, of the photo paper, in this case the scanned templates become the sources of any "white" that will appear in your result. This is why the border "white" is the same shade throughout the entire photograph.
If you don't have any 1940 photographs, you have two choices.
1. Go on ebay and purchase some
2. Take a scree print of some of Eric's, and photoshop off the image. Thereby creating your own template. This in fact is what I did to create though photograph background images sitting behind each unit's photo slideshow on the CHG website.
Obviously though, in photoshop, you will be bringing over the orginal "full whites" of your photo. Accordingly in order to have the "whites" of the photo paper bleach through, you must use "Linear Burn Mode". This allows the whites of the photo template to take president through. I myself am not familiar with this too, i.e. how to apply it and adjust it use in the process. So I will be doing some experimentation. Also the "Linear Burn Mode" affects the "black shades" as well taking on some of the paper's tones, causing your "black" shades to skew green, brown, or some other color characteristics of the photograph's paper.
But before using the Linear Burn Mode, on your original digit photo, Eric uses this three filters
1. Fog
2. Film Grain - this is used only in certain cases and limited use
3. Film Scratch - obtained from a roll of blank 35mm film, which has layer been scanned
Next he uses a "depth of range" adjustment to blurr up the background image.
The end result is something so perfect, it looks 65 years old
picasaweb.google.com/Oziron/FrundsbergHighlights#slideshow


